2.5 liter Balance Shaft removal
This page took 15 minutes to create, so don't expect
allot!
I could not feel any real increase in vibration, but I
did many other modification to this engine at the same time which changed
the way it ran and felt.
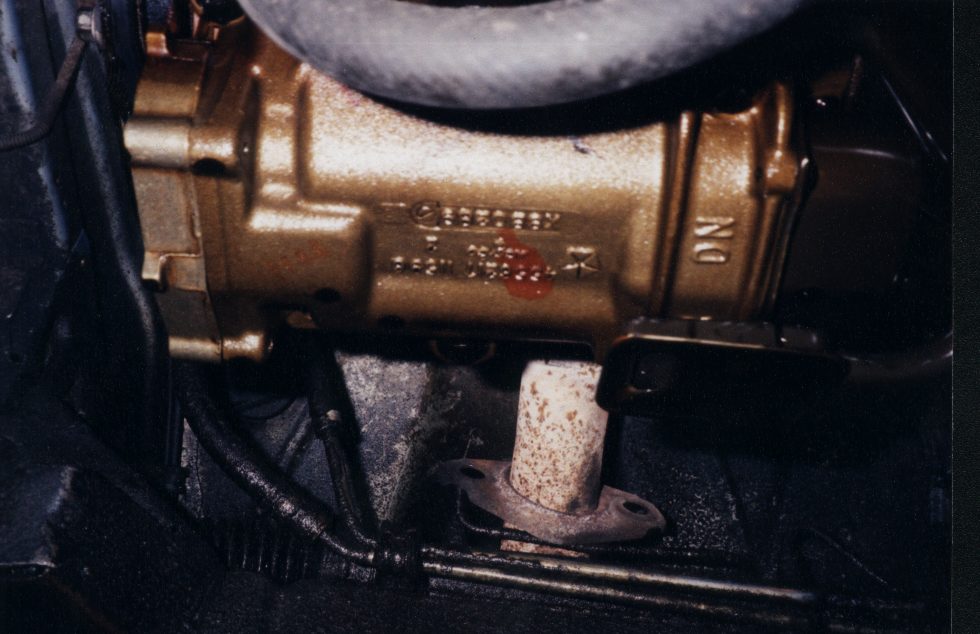
Bottom view of balance assembly. Hose at top of picture is heater hose
connected to water pump.
You will have to disconnect the oil pickup tube to remove the assembly.
It is obvious once the oil pan
is off, which bolts hold it up to the bolt. 6 bolts in all.
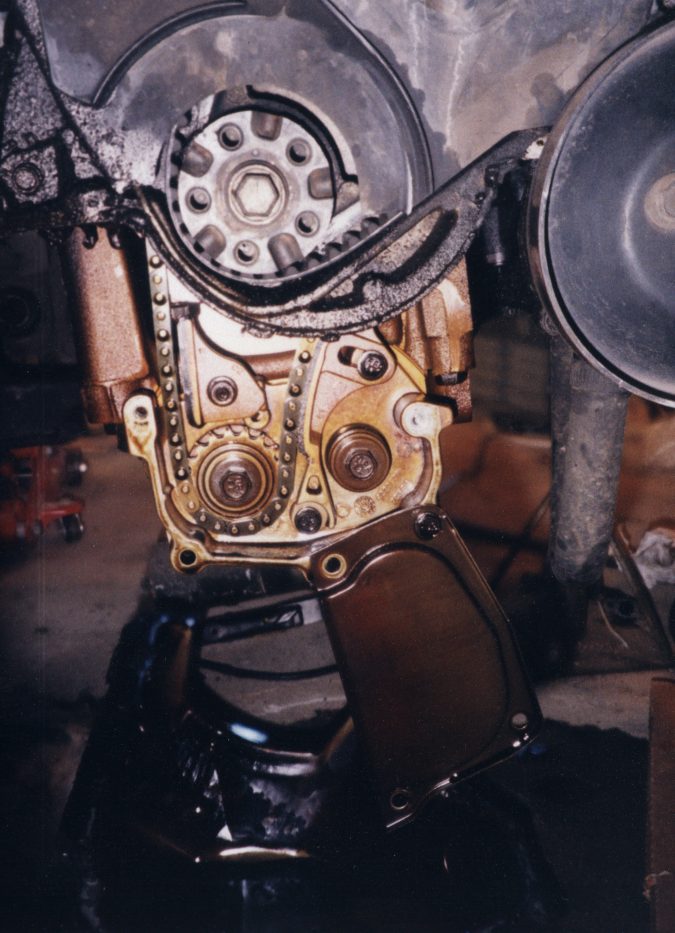
Tall picture I know. This is a view from the right fender well. I have
removed 3 of the 4 bolts which
hold the thin metal cover over the front of the sprockets. Water hose
on the right.
The crank timing belt sprocket is at the top of the picture. To cut
the chain, I used a 4 inch grinder and
ground through the chain

Above the chain is cut. You can see where I nicked the block with the
grinder ( the shiny spot above the left side
of the left sprocket) You turn the engine over to roll the chain
out.
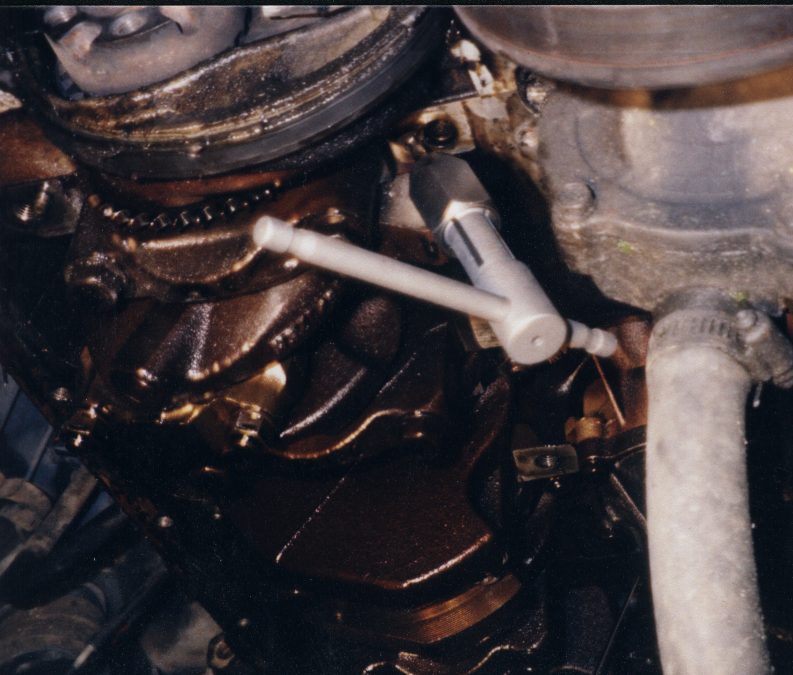
There is the 7 mm bolt tap. the water pump is on the right, and you
can see the chain sprocket on the crank. Also
note the flat milled area where the shaft assembly was bolted
up. I just coated a 7 mm x 25 mm bolt with silicone
RTV and screwed it in tight, after tapping the threads. The hole is
at a angle to the front, and the head of the bolt just scrubbed against
the block.
Screw the tap in, working it back and forth, and flushing the hole out
with WD 40:
Run the tap in a ways, the take it back out, stick the red tube from
the WD 40 can WAY up in the hole and flush the metal shavings back out.
Then screw the tap in again, but deeper still. Keep doing this until it
is deep enough, or it gets to hard to turn- Dont break off the tap!
Please E mail with any suggestions to: spaul@krausonline.com
Click here to go to My Main Page